Building Maps
- Home
- FlightPath
- Building Maps
- Building Maps
Creating Data Maps
When you need to transform an XML or a JSON document from one format to another or when you need to publish data from database queries and stored procedures, you should use the data mapper to define these transformations. The data mapper step improves on the prior method of using the XSLT transforms. For creating the definition of source or destination, it is best to provide formal XSD or JSON schema. However, the data mapper can infer schema from the samples of XML and JSON files. The completeness of the inferred schema depends on the quality of the sample provided.
Schemas, Documents and Data Maps are stored in the Neuron ESB Document Repository. To create a Data Map:
- Open a new or existing Neuron ESB solution.
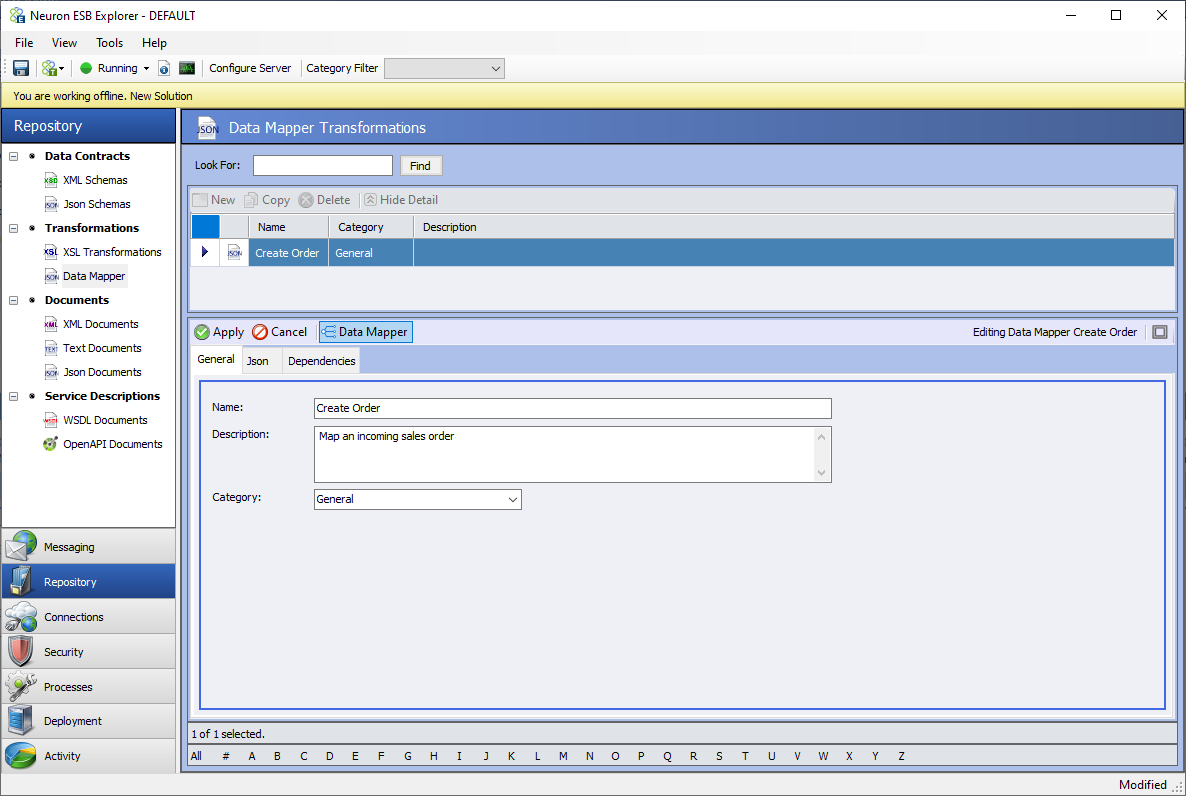
- Navigate to Repository -> Transformations -> Data Mapper.
- On the Data Mapper transformations page, click the New button, enter a name and description under the general tab and click apply to save the blank Data Map.
- Select the blank Data Mapper and click the Data Mapper button to open the Data Mapper.
Data Mapper Settings
The Data Mapper provides settings that can be used as global defaults for fields and transformations. To edit these settings, click the settings icon on the toolbar:

This opens the global map settings:
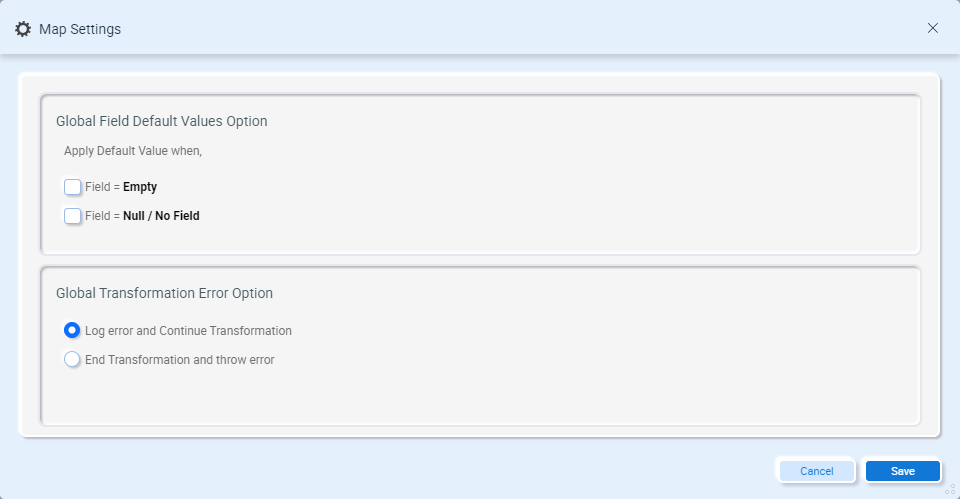
- Global Field Default Values – defines when the default values for source and target fields should be applied. See the section Default Field Values for more details on these options.
- Global Transformation Error Handling – defines whether a map should continue when a transformation error is encountered. See the section Handling Errors for more details on these options.
Adding Source and Target Documents
The first time a new Data Map is opened, the Document Generation Wizard will guide you through adding your source and target documents to the Data Mapper:
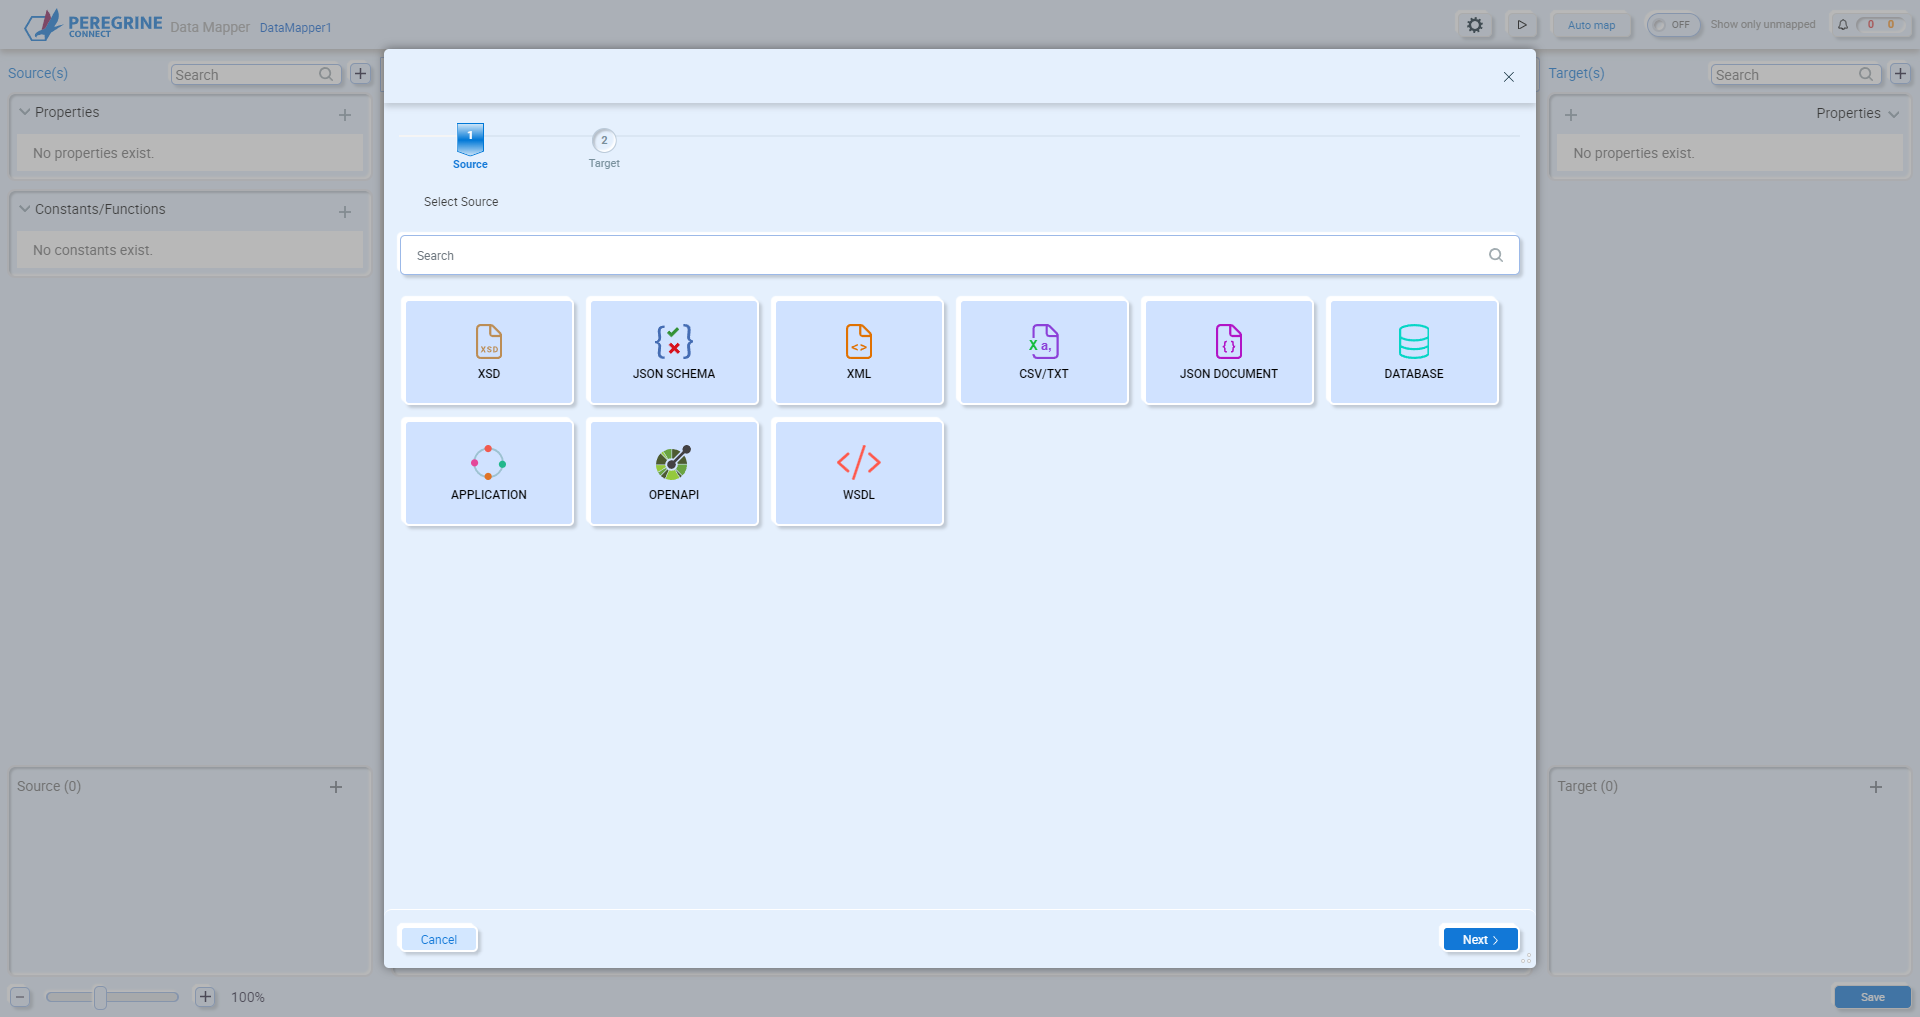
This wizard provides multiple options to load documents and schemas from the file system or Neuron ESB Repository, or can walk you through generating documents from a database or application or selecting operations from Open API and WSDL documents. See the section Document Generation Wizard for more details using this wizard.
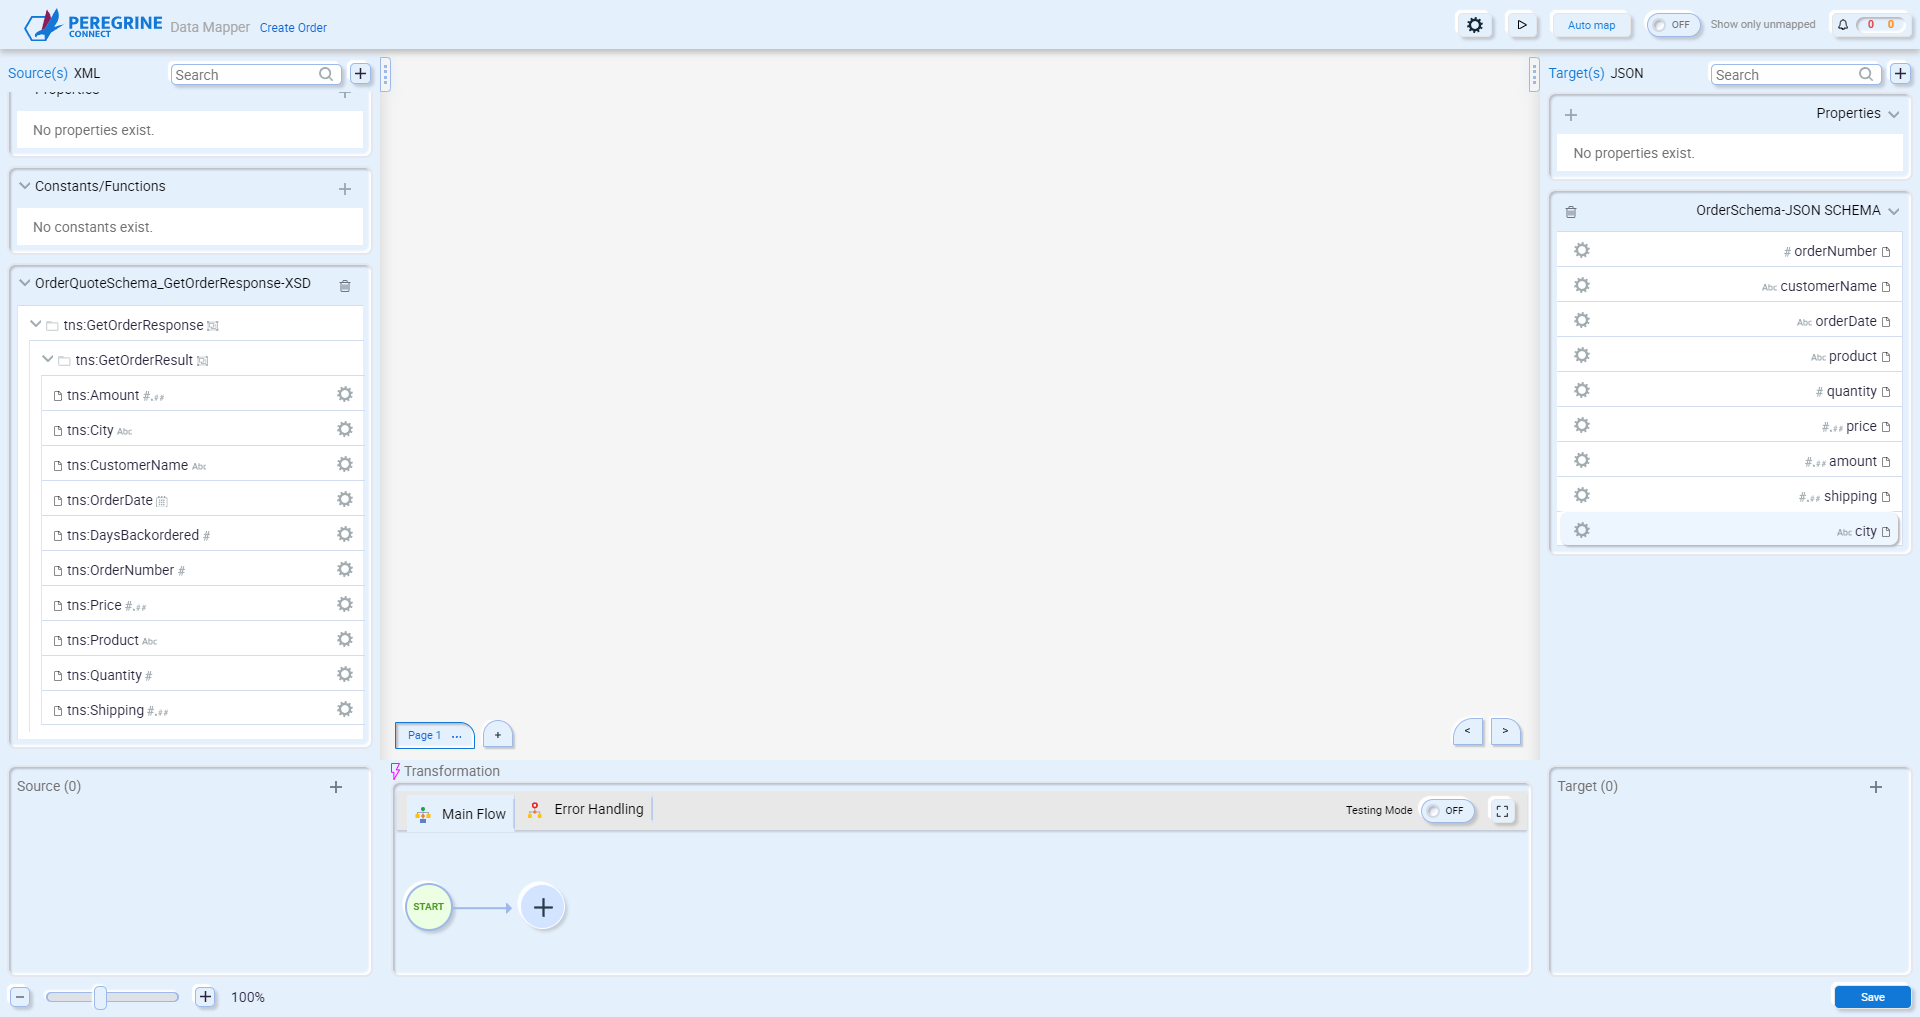
Once you have selected a source and target document, a blank Data Map will appear:
Auto Mapping
After selecting your source and target fields, you may be able to save some development time by utilizing our Auto Mapping feature. The Auto Map feature will provide you with potential mapping matches between the source and target fields. To open the Auto Mapping feature, click the “Auto Map” button:

When the Auto Mapper open, you’ll see the source and target documents, with drop-down lists of parent nodes:
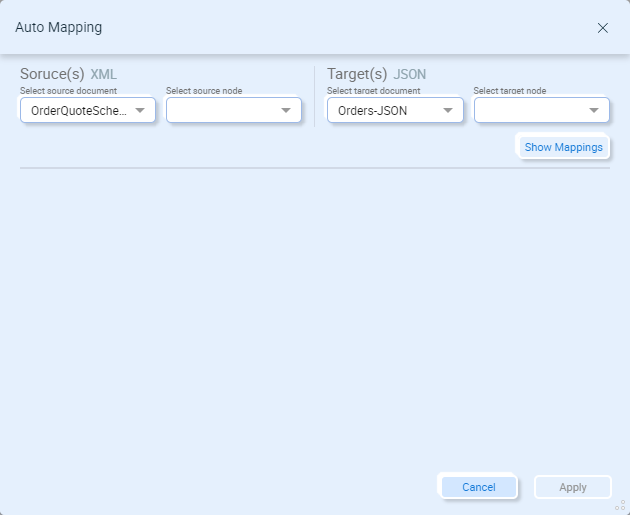
The Auto Mapper doesn’t recursively search child nodes. You will have to select the node to search for matches under both the source and target documents. For example, when selecting each document’s root node and clicking the Show Mappings button, no new mappings may be found:
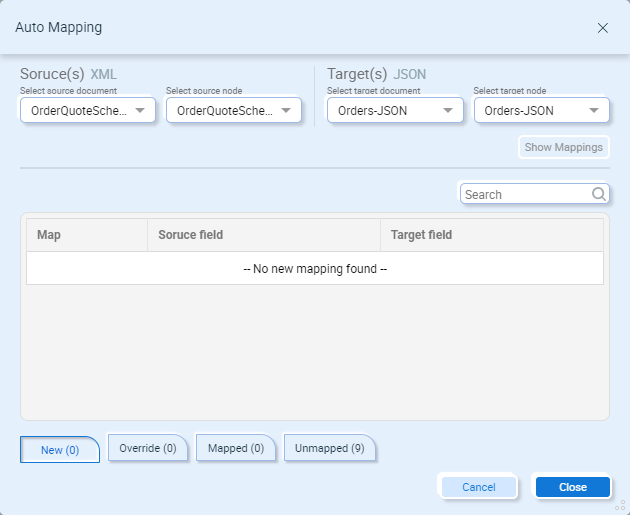
Changing the source and/or target nodes to a node containing some mappable fields may provide better results. Underneath the suggested mappings are four tabs:

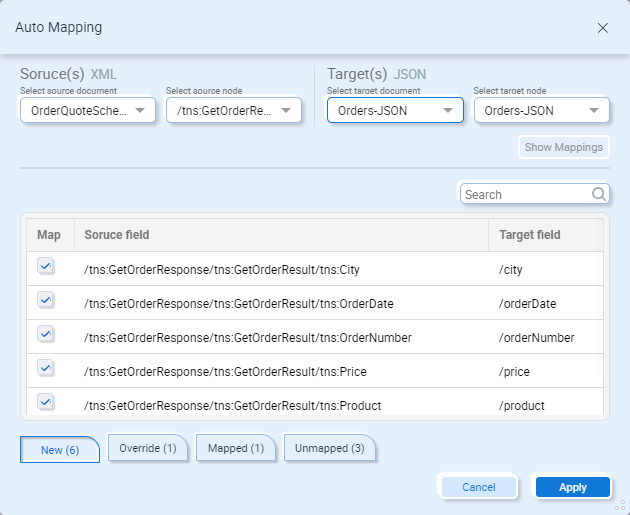
New –Displays all the new suggested mappings. You can select or deselect which fields you want to auto-map using the checkboxes next to each suggested mapping:
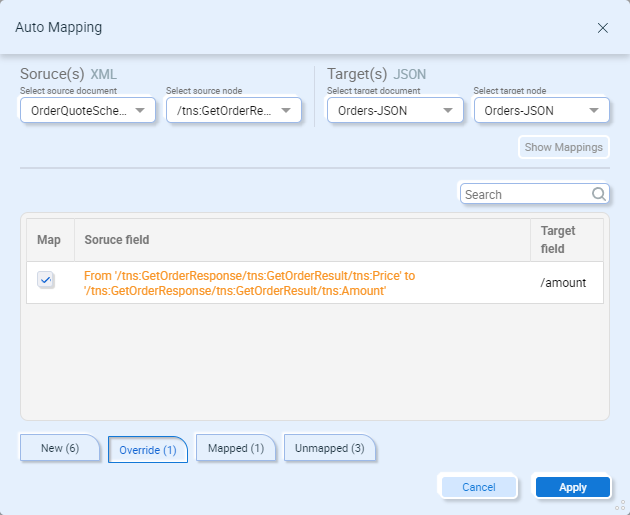
Override – Displays all the existing mappings that could be overwritten by the Auto-Map. Note – suggestions listed on this tab are automatically selected to be overwritten:
Mapped – Displays mappings that already exist. Note – mappings displayed in the Override tab are not displayed here:
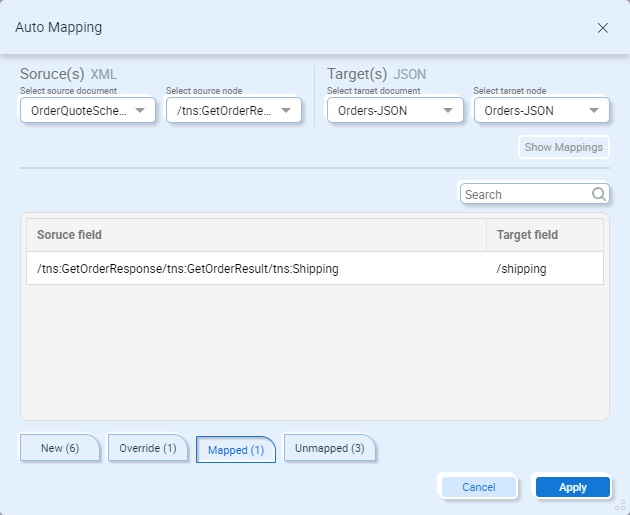
Unmapped – Display fields that do not have an auto-map match:

Clicking the “Apply” button will add the auto-mapped fields to the Data Map.
Mapping Fields
To build a Data Map you connect source fields to target fields. To connect source and target fields, select the source field you want to map from and then select the target field you want to map to:
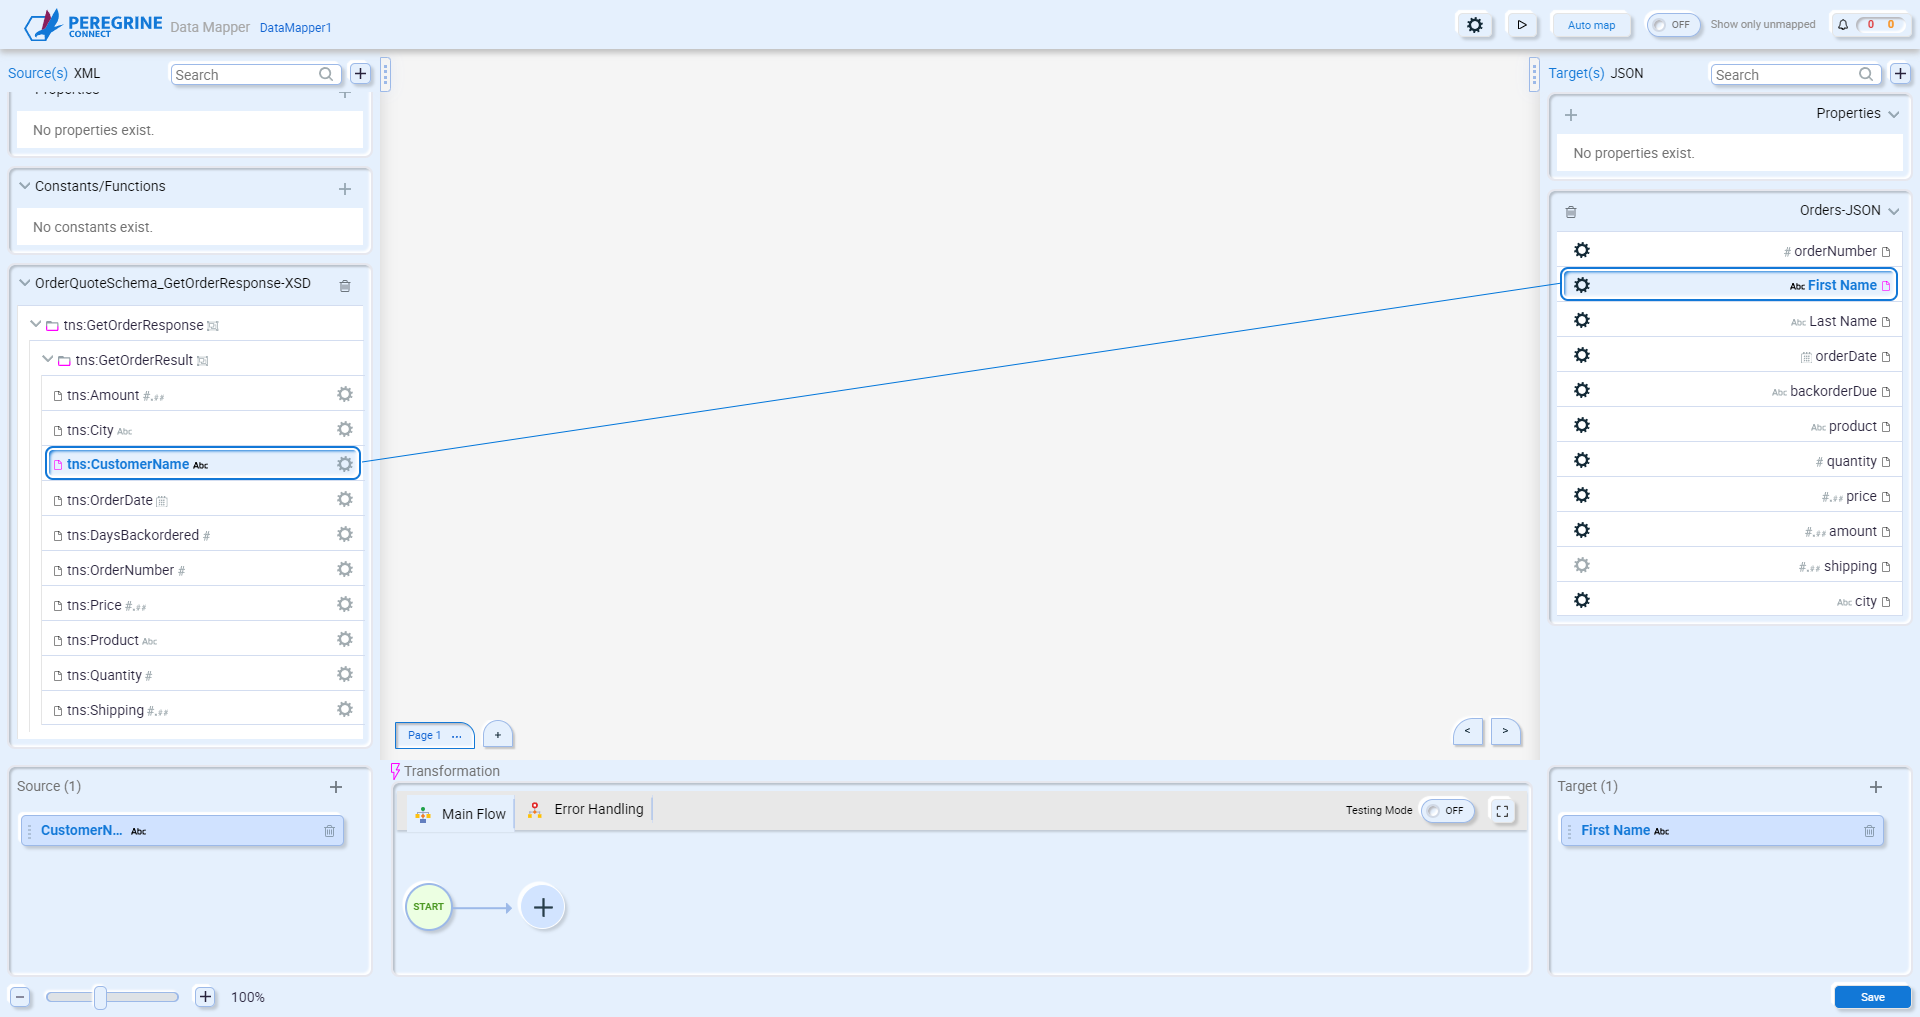
If you want to select multiple source or target fields, press and hold the CTRL key while selecting the fields to map:
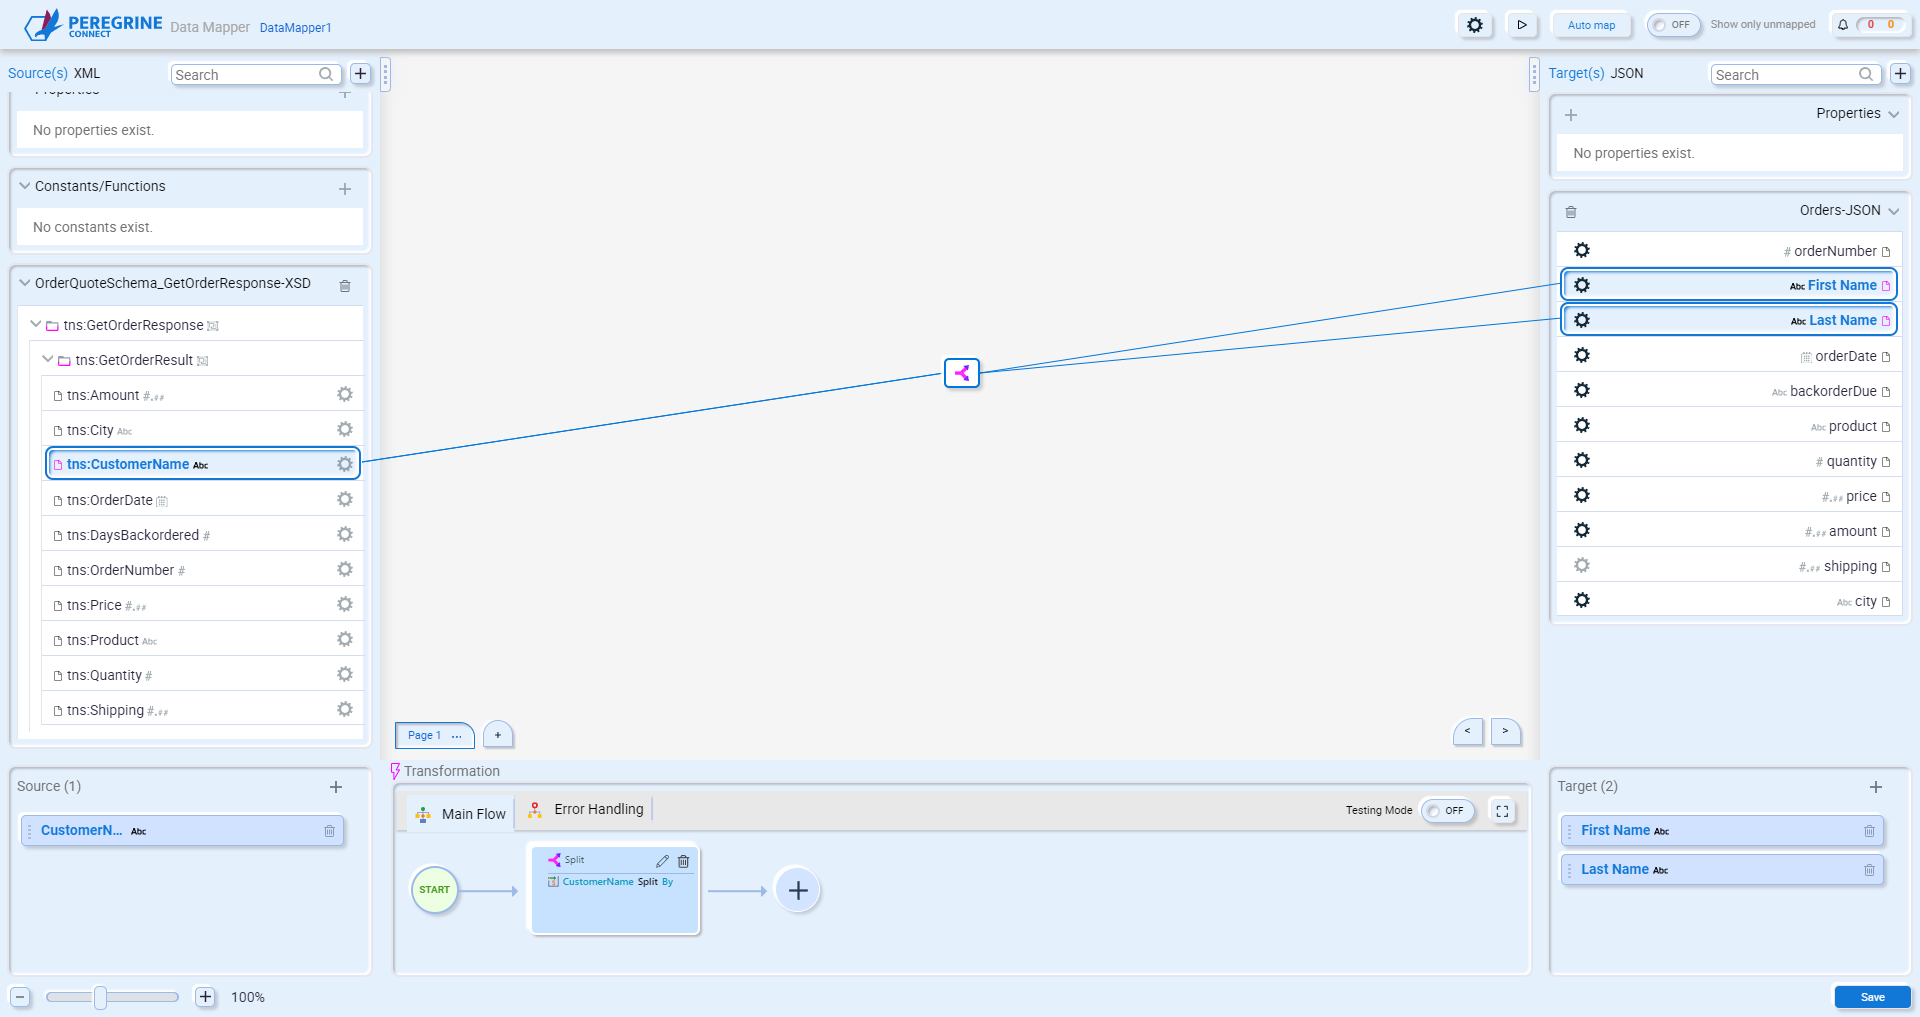
The same source field can be mapped to multiple target fields without a Transformation. However, mapping multiple source fields to the same target field does require a Transformation.
At the bottom of the Data Mapper is the Transformation Center. This area allows you to add functions that can modify the data as it’s being mapped from the source to target fields. There is an extensive library of functions available, from simple string operations such as split and concatenate, to advanced functions like database lookup. See the section Transformations for more details.
To delete a mapping, select the mapping to delete and press the Delete key.
Source and Target Properties
Along with the source and target documents that form the basis of a Data Map, the Data Mapper also provides support for source and target ESB Message Properties. This allows you to use the values stored in the source ESB Message Properties as source fields, or to create Message Properties in the target ESB Message. You can also use the values of Neuron ESB Environment Variables as source fields. To add a Property or Environment Variable, click the “+” button next to “Properties”:

This will open the Create Property dialog:
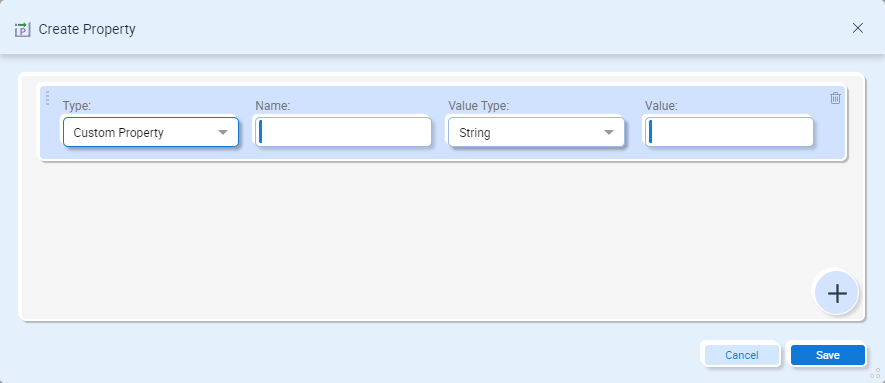
- Type – Custom Property or Environment Variable (source only).
- Name – for a Custom Property, enter the message properties prefix and name, i.e. “file_in.Filename”. For an Environment Variable, select the Environment Variable from the drop-down menu.
- Value Type – Select the data type stored in the property.
- Value – Provide a default value for the property, which would be used if the ESB Message Property was not found, or the Environment Variable does not contain a value.
Click the Save button to save the Property. Properties can be mapped just like any other source or target field.
Constants and Functions
Like Properties, Constants and Functions can be used to provide a static or calculated value to mapped fields. You will need to create a constant any time a constant value is required for a target field. To add a Constant or Function, click the “+” button next to “Constants/Functions”:

Creating a Constant:
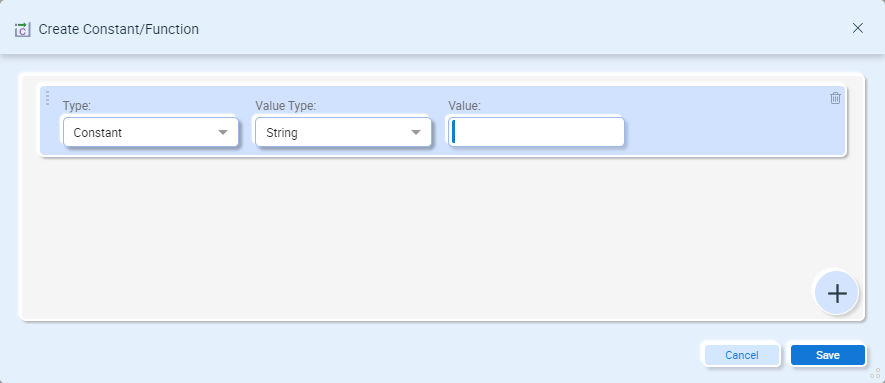
- Type – Select Constant
- Value Type – Select the data type of the constant.
- Value – Set the value of the constant.
Creating a Function:
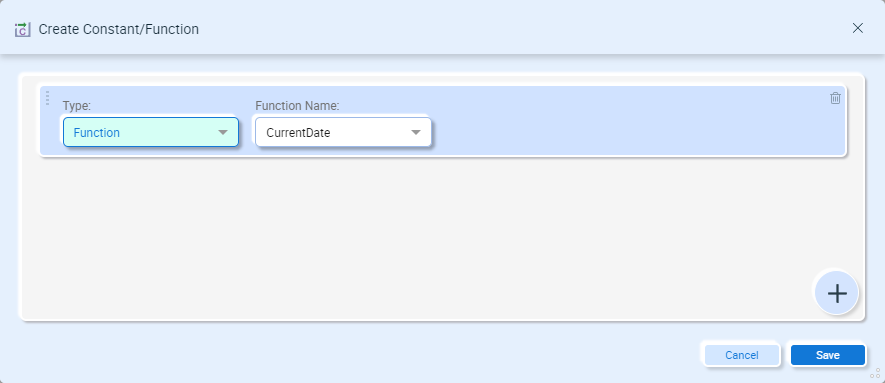
- Type – Select Function
- Function Name – Select one of:
- CurrentDate
- CurrentDateTime
- CurrentUtcDate
- CurrentUtcDateTime
- CurrentUtcTime
- CurrentTime
- EmptyString
- GenerateUUID
- NullValue
Constants and Functions can be reused multiple times in a Data Map. You can map from the same constant/function to different target fields.
Searching
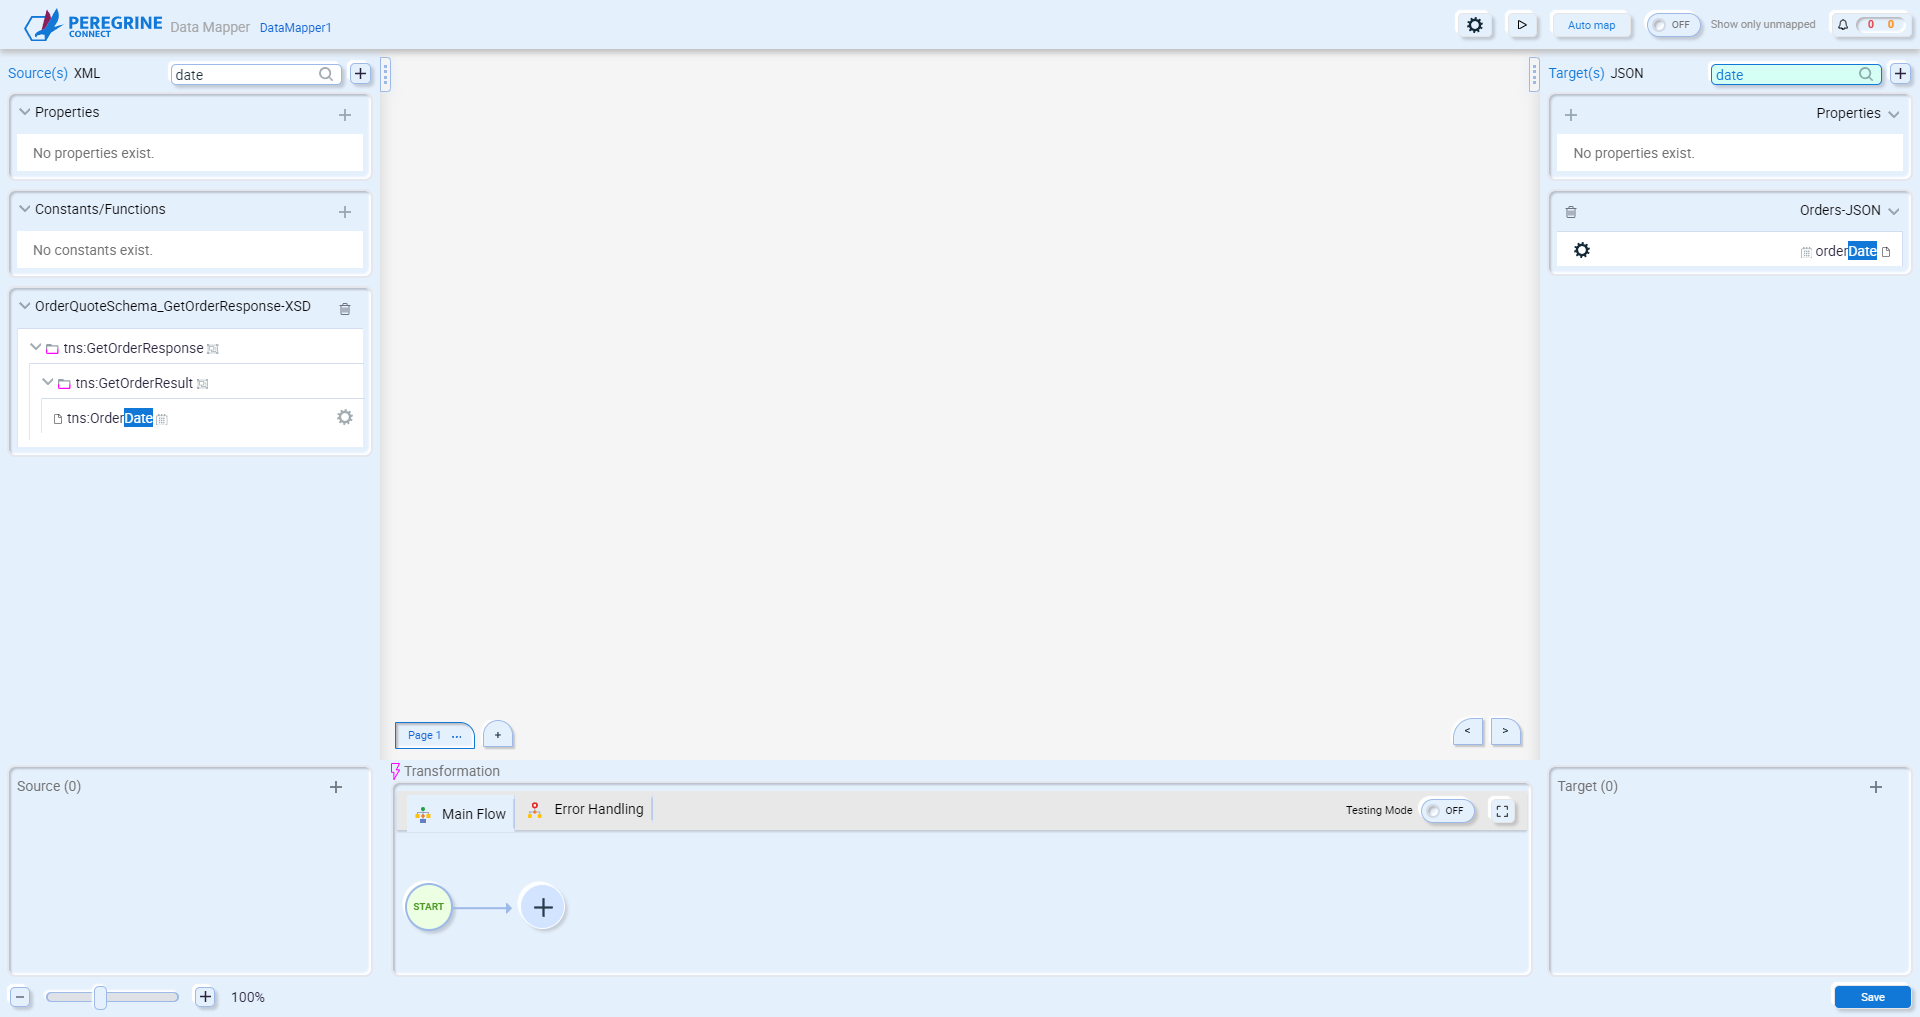
Both the Source(s) and Target(s) provide a Search that can be used to find the field you want to map. This can be particularly helpful when using large documents with 100’s of fields:
Paging
The Data Mapper allows you create “Pages” to contain different portions of the map. This is also very useful when mapping large documents with 100’s of fields. You can organize the pages any way you want. For example, you can put all the address mappings on a page, the order header mappings on another page and the order line-item mappings on a third page. The pages are listed at the bottom of the mapping area:

Every map has a default “Page 1”. You can rename, delete, or delete all the mappings on a page by clicking the ellipsis button next to the page name. When multiple pages are present, the ellipsis button also provides an option to move all the mappings of the current page to another page. Create new pages by clicking the “+” button. The left and rights arrows on the lower right on the mapping area allow you to quickly navigate between pages.
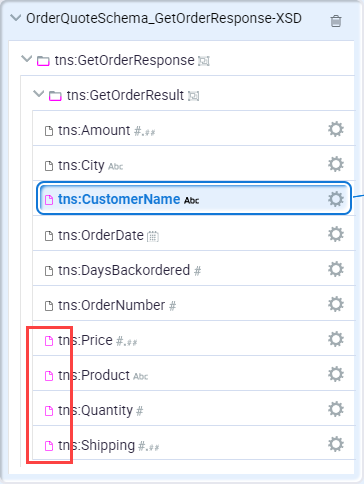
When multiple pages are used, you can determine whether a field has been mapped on another page by looking at the field’s icon:
Default Field Values
Occasionally, expected source fields are either empty, null, or entirely missing. When this happens, you may want a default value to be used in their place. Each field in the source and target documents has a setting icon:
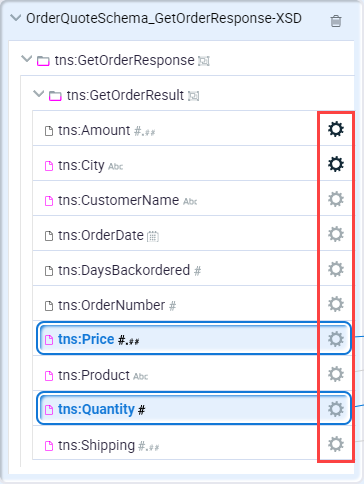
Click the settings icon to open the default field values:
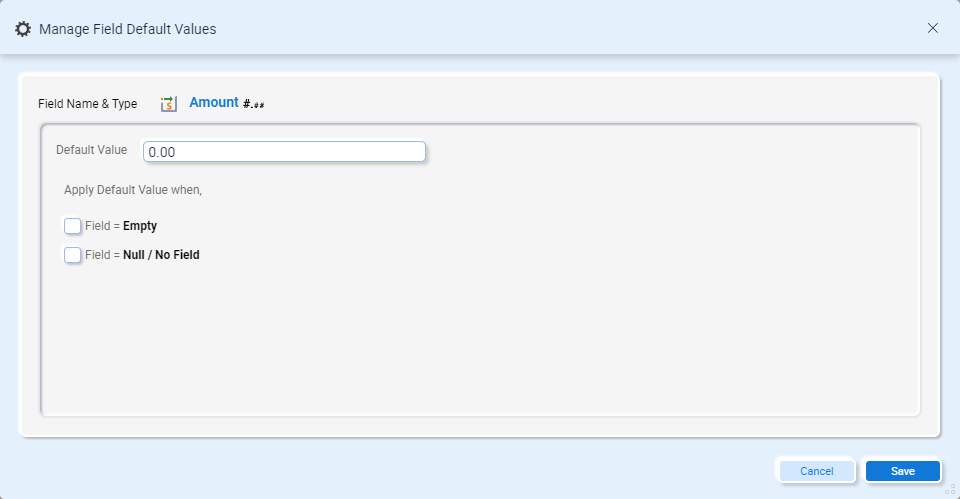
- Default Value – Enter the default value you want to use based on the conditions below. Verify the data entered matches the data type of the field (i.e. don’t enter a string when the field type is a decimal).
Note – If the document was added based on an Instance (i.e. XML, JSON or CSV/Text file), the default value will reflect the field’s value that was in the document. However, the “Apply default value when” options will not be selected.
- Apply default value when:
- Field = Empty – the field is included in the source but is empty. i.e. <Amount></Amount> or <Amount />.
- Field = Null / No Field – The field is either not included in the source or it is included and defined as null. i.e. <Amount xsi:nil=”true” />
Note – One or both fields can be selected. If neither is selected, the default value is never used.
Default values can be applied to both source and target document fields, following these rules:
- Default values set on a source document field will be passed to the target field(s), or a transformation that is applied to the mapping, based on the options of when to apply the default value.
- Default values set on a target document field will only be used when the source field value, or the value returned from a transformation applied to the mapping, matches the options of when to apply the default value.
- When default values are set on both a source and target field, and the “apply when” options are the same, the source field’s default value will be used.
- A target field’s default value will not be applied where there isn’t a source field mapped to it. If you want a default value without mapping from the source document, you must create a constant and map that value to the target field.
Testing Maps
The current state of your data map can be tested at any point during development. Just click on the “Test” button on the toolbar:

The Test Data Mapping dialog will appear:
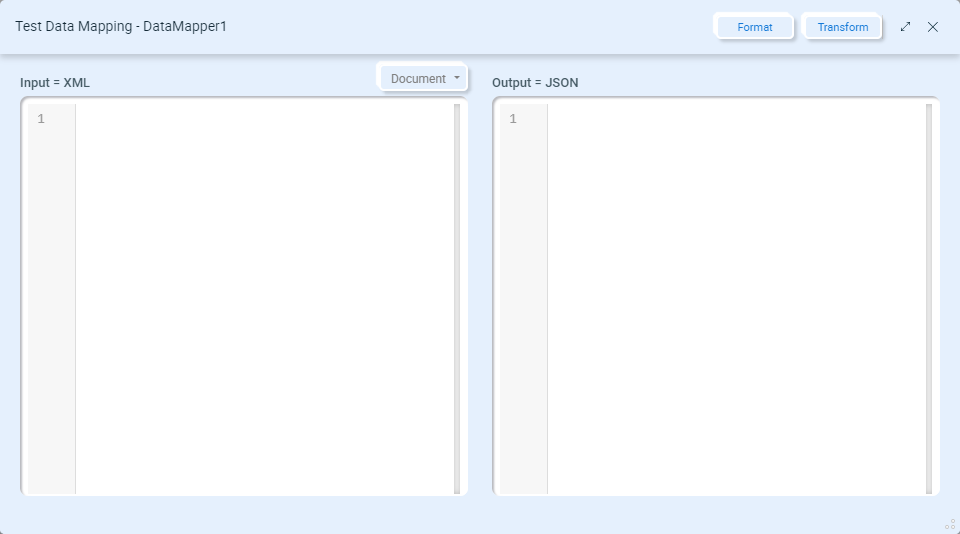
In the left panel you can type or copy/paste a sample source document, or you can select a document from the Neuron ESB Repository or import from the file system by clicking on the Document dropdown list:
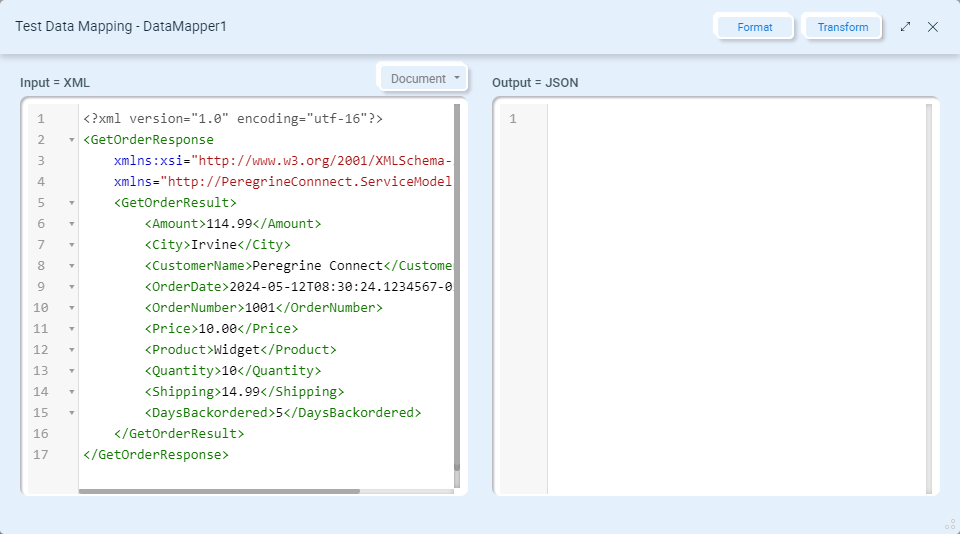
Click the Transform button to test your Data Map:
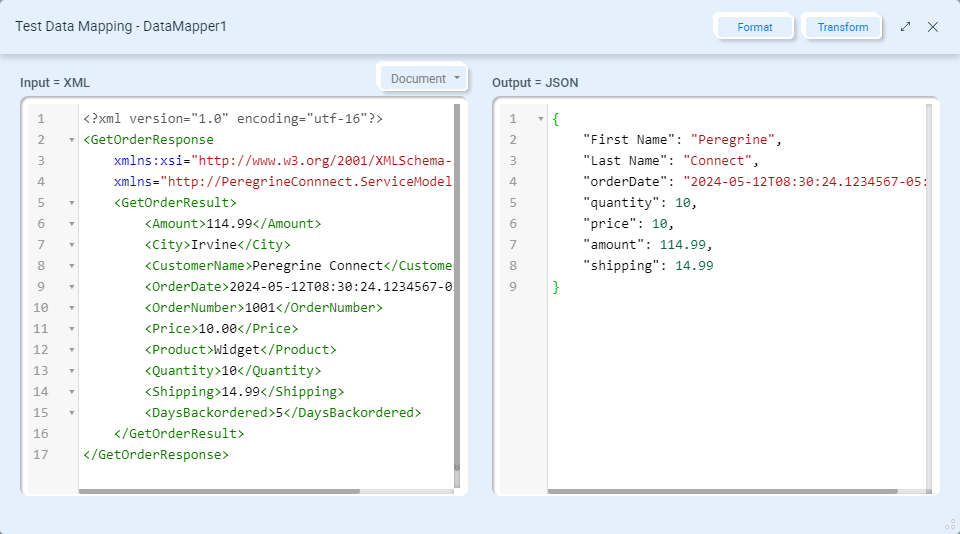
Any error encountered during the mapping will be displayed on the screen. Clicking the Format button will format both the Input and Output documents.